
Installing your network racks properly may seem daunting at first, but it can be done easily with the right tools, knowledge, and mindset. Network racks are essential equipment that plays a significant role in ensuring proper organization and network infrastructure
protection.
This guide will take you through the step-by-step process of installing network racks, helping you ensure your network stays organized and protected.
Why Installing a Network Rack Properly is Important?
When setting up a network, it's easy to focus on the exciting aspects of choosing the latest routers or fastest switches. However, one aspect of this process that should not be neglected is properly installing a network rack.
A well-installed rack provides a secure location for all networking components and ensures optimal performance by allowing for efficient cooling and cable management. In fact, failing to install a network rack properly could lead to serious issues such as overheating and cabling damage. If you want your network to run smoothly and securely, don't underestimate the importance of correctly setting up your network rack.
Step-by-Step Process of Installing Network Racks
Step 1: Planning and site preparation
Before starting any project, careful planning is crucial. The first step to installing your network racks is to evaluate your needs and identify the best location to place your equipment. A suitable location should be easily accessible with adequate ventilation and enough power to support your equipment. Once you've identified a location, you can start preparing the site. Clear the area of debris, and ensure the area is dry and has proper drainage.
Step 2: Measure and set up the rack
Once the location is secured and prepared, the next step is to measure the area and position the rack. Measure the height and width of the area and select a network rack that meets your requirements. Ensure you have sufficient space for your equipment and leave enough room for future expansion. Once you have determined the right rack size, mount it securely to the wall or floor using the correct hardware and equipment.
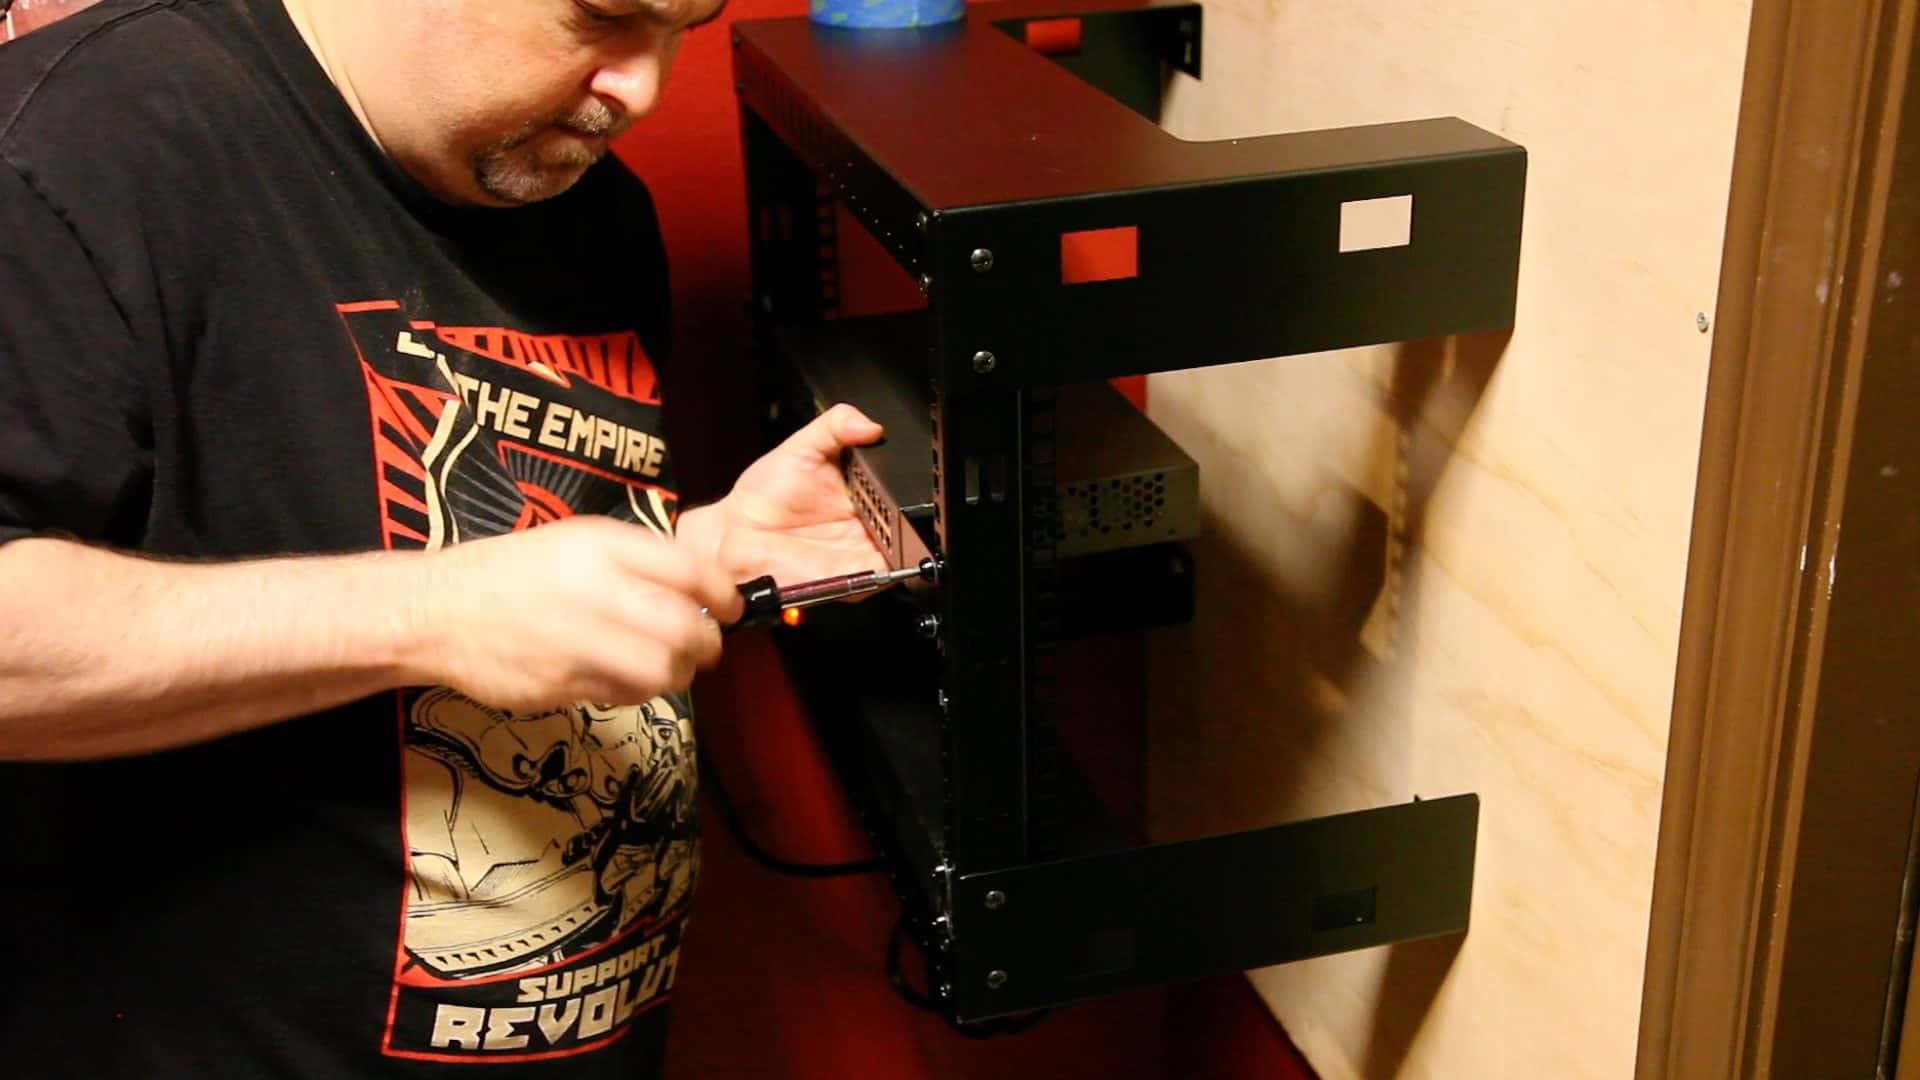
Step 3: Install your equipment
The next step is to mount your network devices onto the rack. Start by placing your switches, routers, patch panels, and other equipment in the appropriate locations, following the setup and installation instructions provided by the Wall Mounted Network Rack Manufacturers. Ensure you use suitable cabling, and use cable ties to keep your cables neat and organized.
Step 4: Connect your equipment
After installing your equipment, the next step is to establish connectivity. Connect your devices using Ethernet or fiber cables, depending on the nature of the device, and ensure that all connections are secure. Test the connectivity of each device to confirm that they are communicating correctly, and troubleshoot any errors that may arise.
Step 5: Maintenance
After installation, routine maintenance is necessary to ensure the proper operation of your network. Regularly inspect your cables, connections, and equipment to detect any faults or issues that may arise. Dust your racks regularly and clean your equipment to prevent any mechanical failures. Also, consider implementing a backup strategy to protect your data in case of a disaster.
Conclusion:
Installing network racks correctly can be a challenging task, but following these steps can help you achieve an organized network infrastructure that functions smoothly. Remember, carefully planning, measuring and positioning, installing, connecting, and maintaining are crucial when looking to install network racks. Maintain a healthy and well-performing network for years to come by following these simple steps.